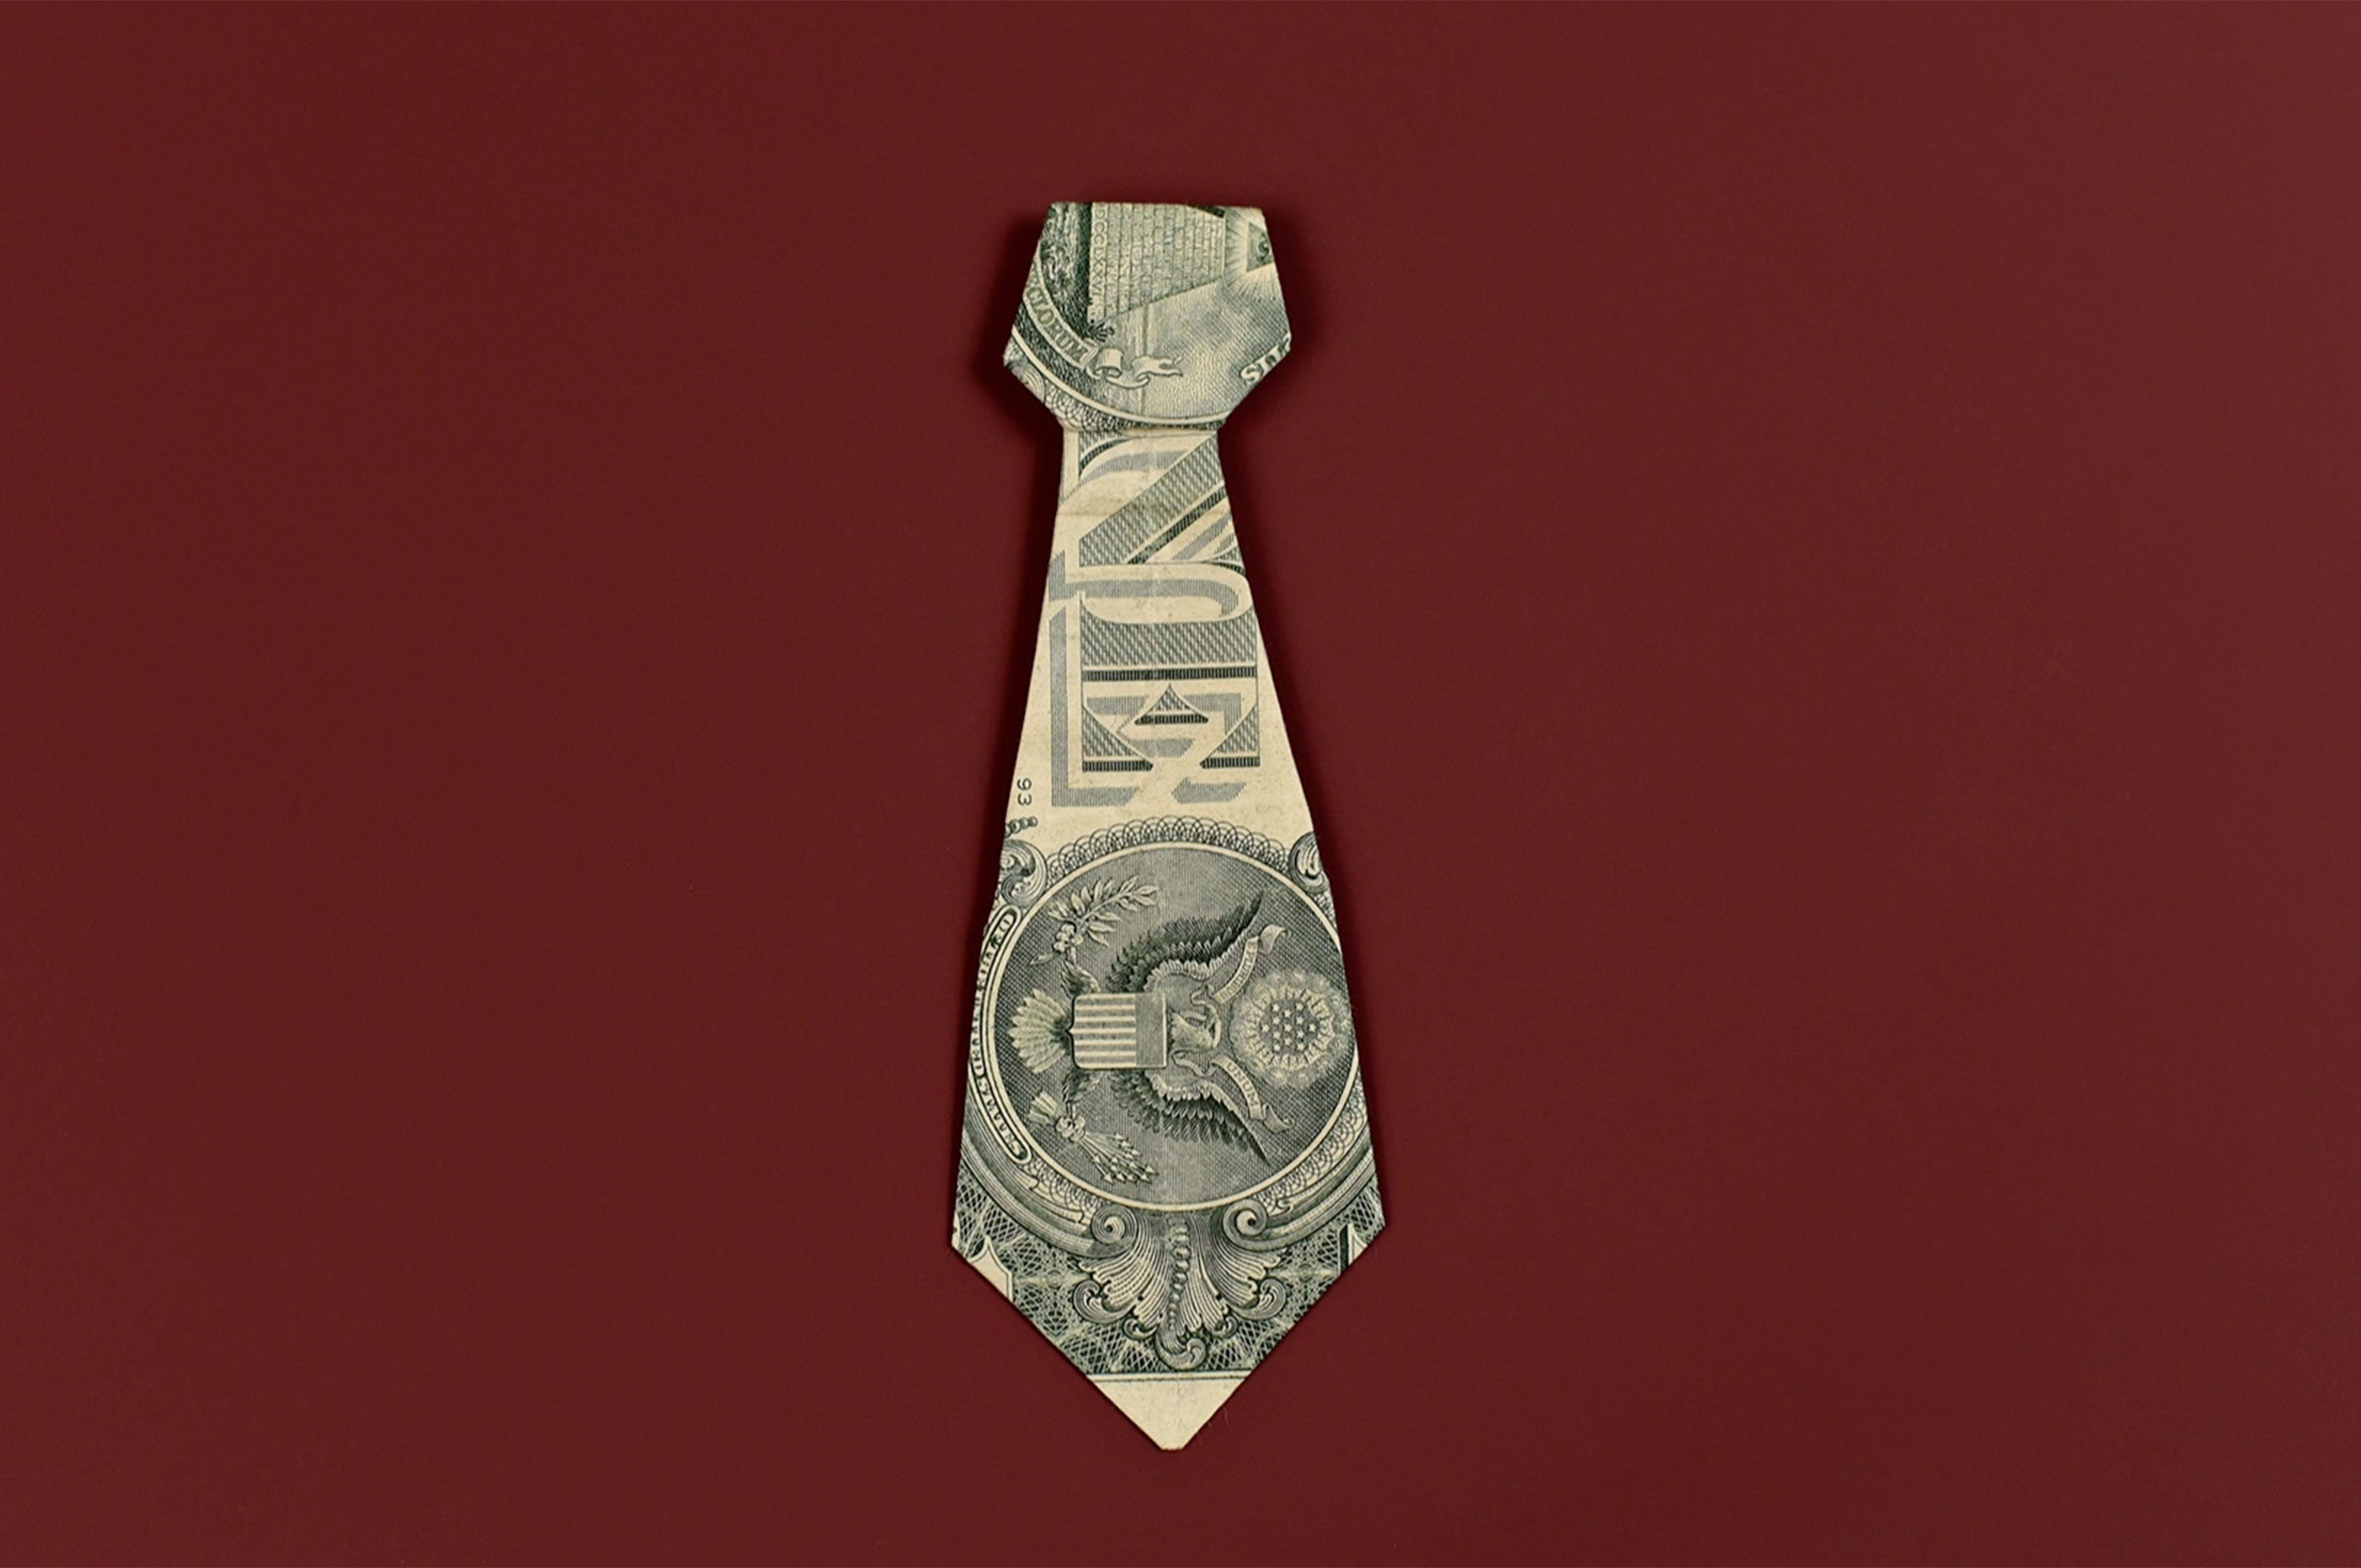
Just for fun: Origami wearables
It's only money. Why not wear it? Follow the step-by-step instructions on how to make this tie — and show off your favorite currency.
It's only money. Why not wear it? Follow the step-by-step instructions on how to make this tie — there's a video above to help you get started — and share your favorite currency with @WPCareySchool on Twitter or Instagram. We can't wait to see what you create!
How to: Make your own money tie
- 1. Hold the bill right side up
- 2. Fold to create a crease
- 3. Turn and fold to meet the crease
- 4. Turn over and repeat
- 5. Fold the bill in like a wing
- 6. Turn over and repeat
- 7. Flip the bill over so that the folds don't show
- 8. Fold the pointy tip in half again, this time pointing up
- 9. Fold this section over again, just about in half
- 10. Do the hard part
- 11. Unfold what you just folded
- 12. Flip the tie over, and fold the top inside "wings" in half again
- 13. Fold the top corners of the area where the knot meets the tie
- 14. Enjoy and share your tiny tie
The side that faces you will be hidden when your tie is complete. We used a U.S. dollar bill, but feel free to choose any cash you have on hand (even Monopoly money would work!).
Fold your bill horizontally (the long way), from the bottom up to create a crease or score.
Turn your bill vertical, facing up, and fold over the top right-hand corner to meet the crease.
Repeat this step, now folding over the left-hand corner.
Turn over your bill, facing down, and fold over the top-right-hand corner to meet the crease.
Repeat this step, now folding over the left-hand corner. At this point you will have done so for every corner of your bill.
Fold your bill in like a wing, from the pointed tip down to where the fold of the triangle meets the edge of the bill.
Do the same on the opposite side of the bill, folding your bill in like a wing so that it overlaps the previous fold, from the pointed tip down to where the fold of the triangle meets the edge of the bill.
Then, fold the very tip of the narrow end straight down, so that the tip lines up just above the top set of corners.
By pointing up, we mean away from the bottom of your future money tie.
This will be a little tough: Fold the bottom of each corner of the part you just folded, so that it creases — almost like a collar around the top of the tie. Crease these.
Unfold what you just folded, and invert those corners. This part will now have a three-dimensional character.
This effectively narrows the tie.
This will narrow the tie just under the knot. You will need nails for this, if you have them.
Tiny things are cuter than average. Share your creation with @WPCareySchool on Twitter or Instagram.
Latest news
- Flexible ASU Evening MBA helped Layla Gabir build new confidence, connections, and career momentum
Layla Gabir (Evening MBA '26) works full-time as an epidemiologist for Maricopa County and…
- Computer information systems student Andrew Patel balances school with full-time work, earning stockbroker certification
Andrew Patel (BS Computer Information Systems '26) was looking for a program that combined…
- MRED program set W. P. Carey grad up for career success
Alum Zachary Hartman (MRED '10) shares how ASU's Master of Real Estate…